
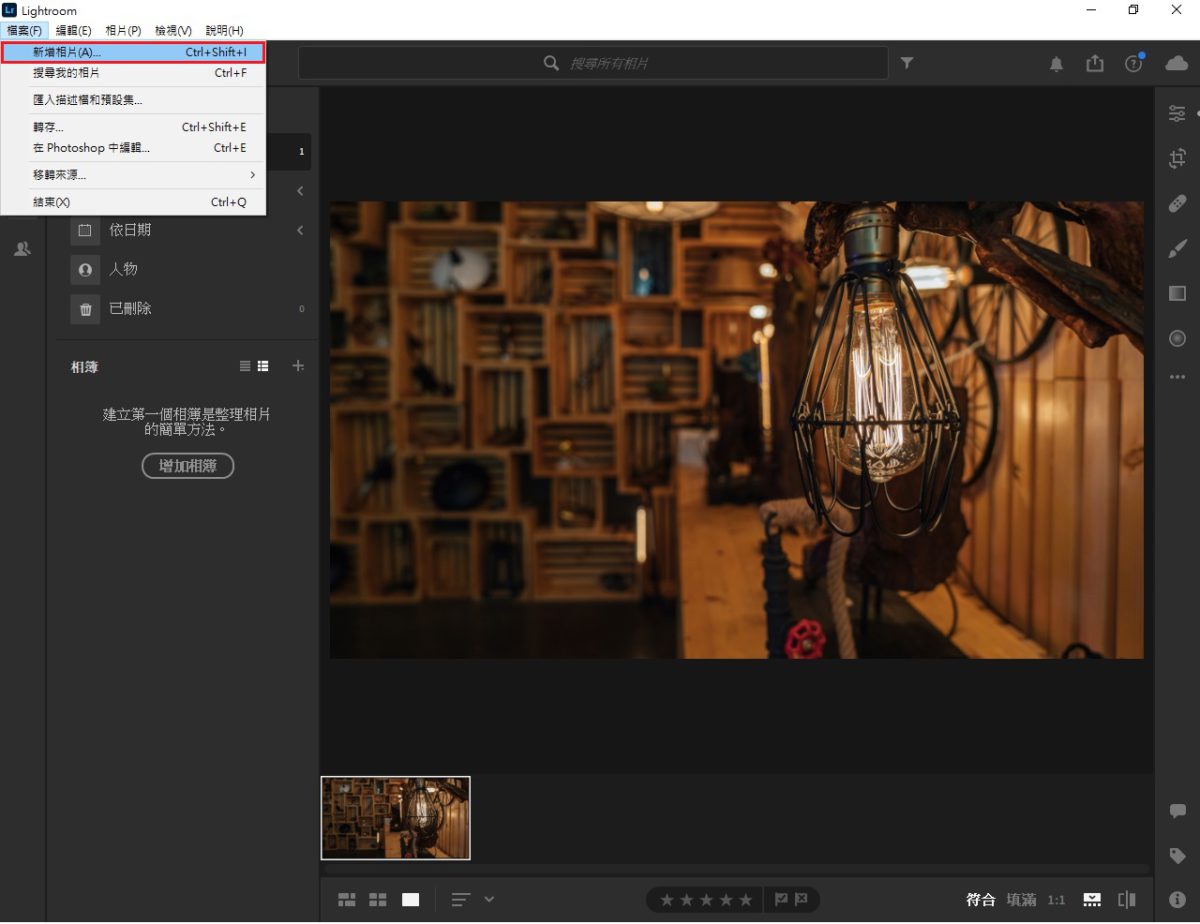
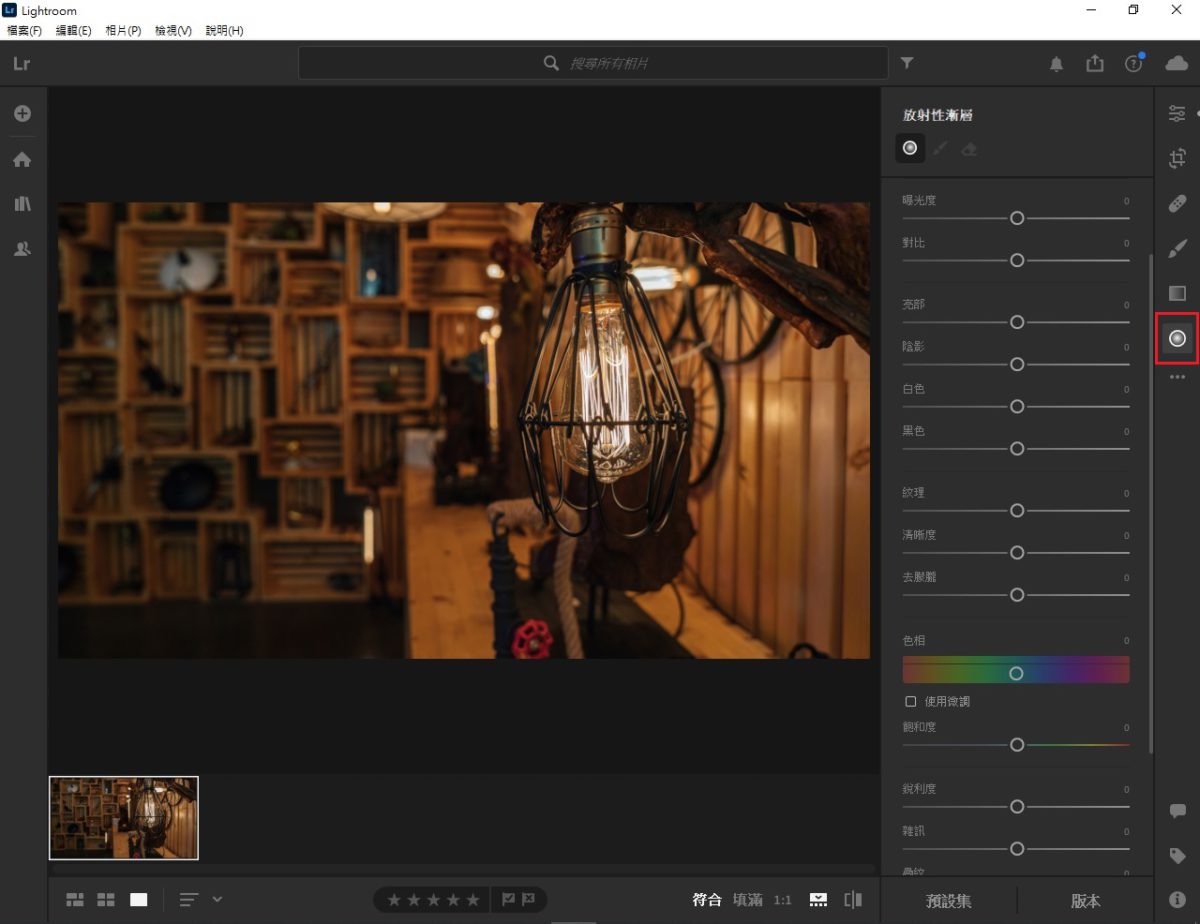
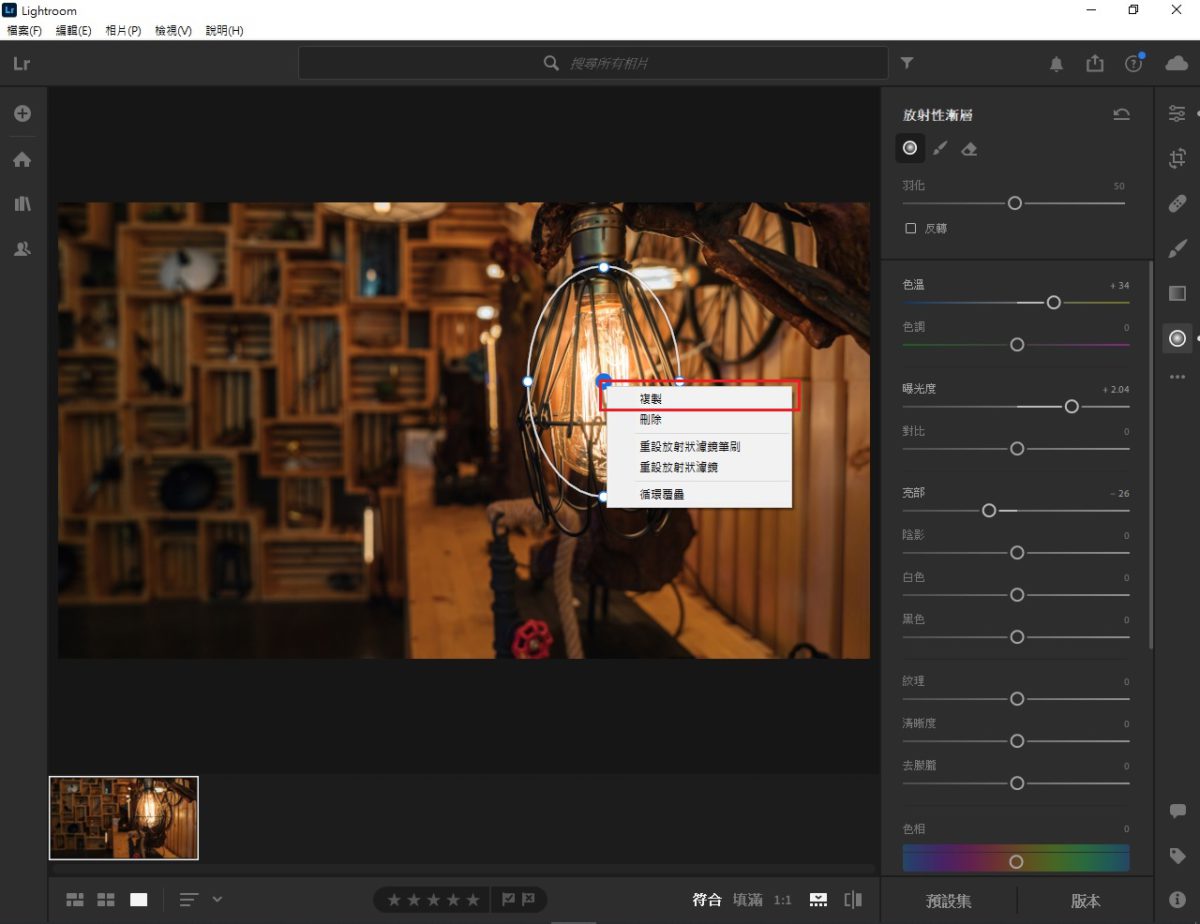
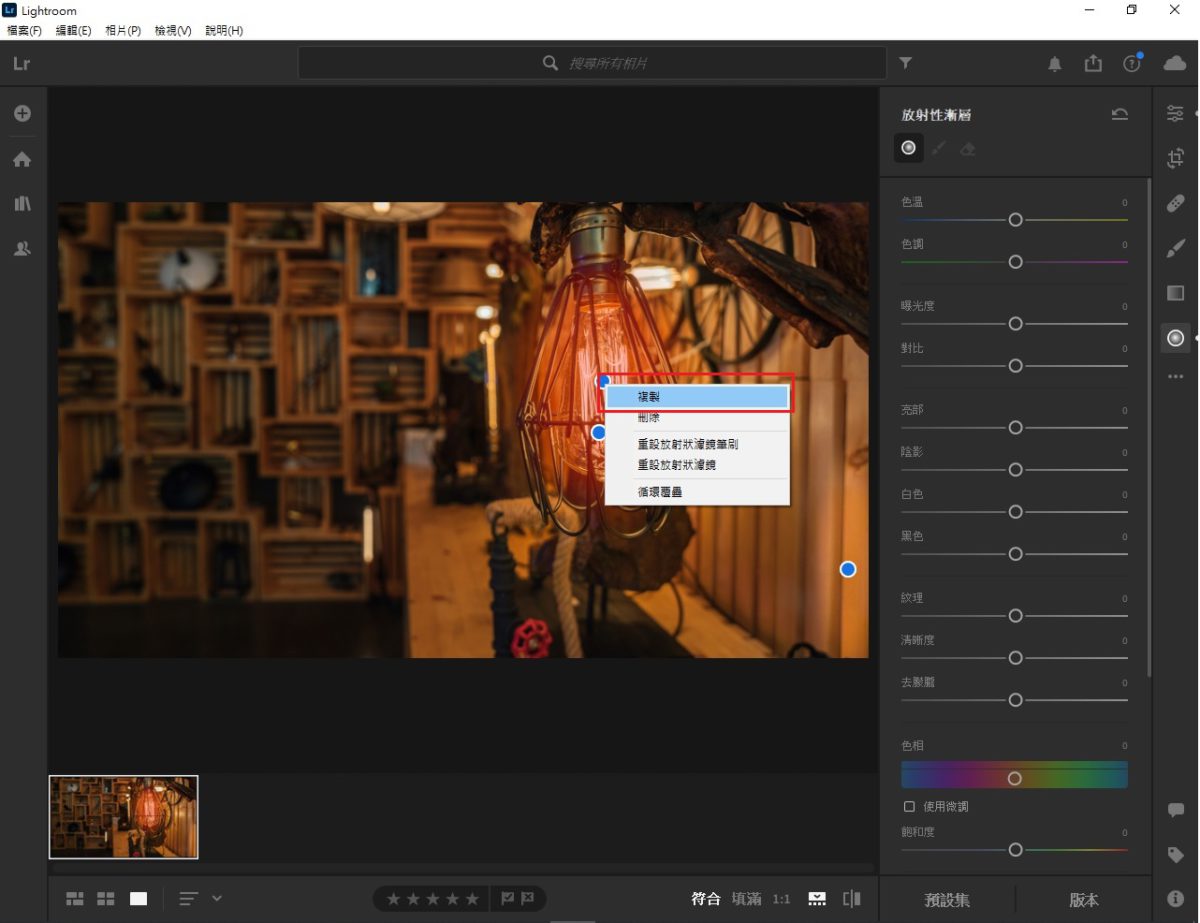
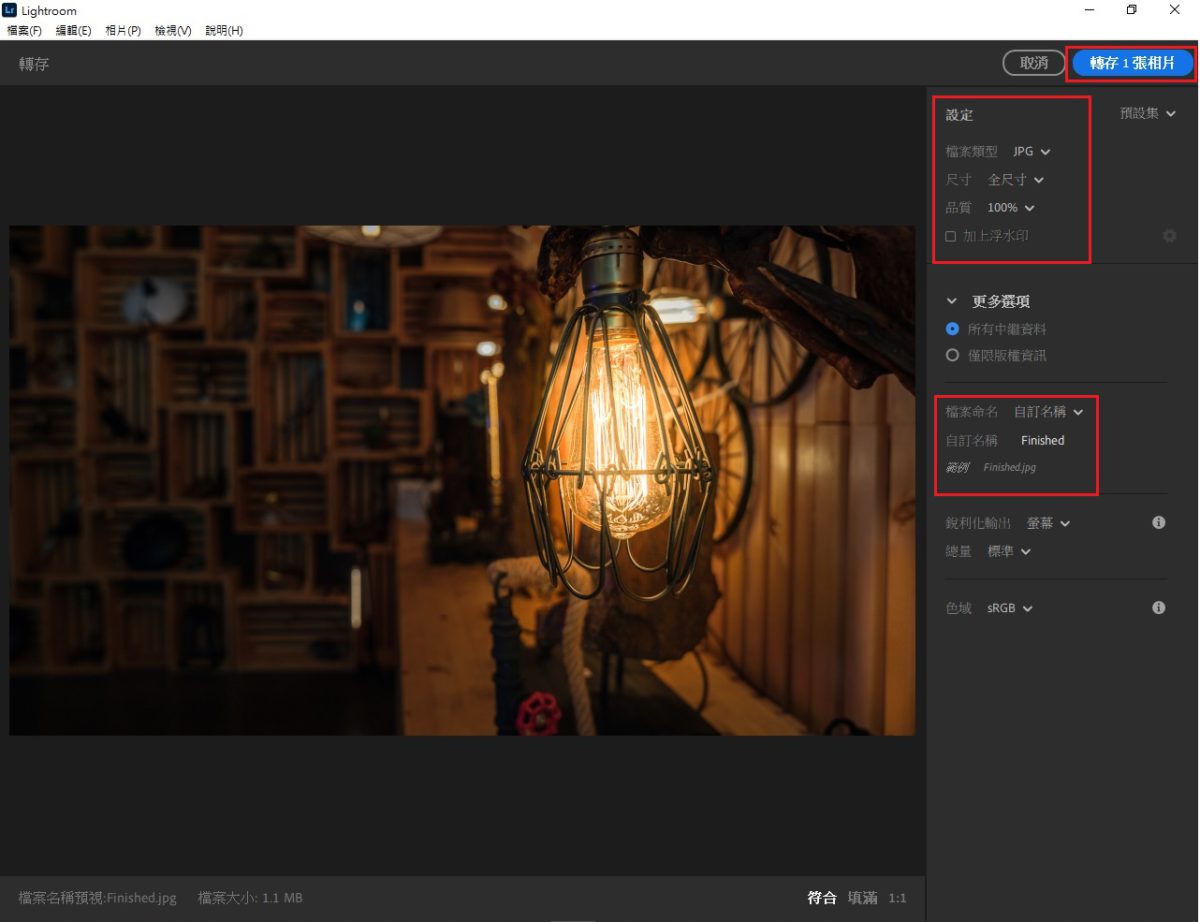
今次教學我們將示範如何運用 Adobe Lightroom CC 的「放射性漸層」 (Radial Gradient tool)工具,通過創造由裡而外的多重暈影區域,達到突出相片指定部分的目的。
有時攝影師為求突出作品主題,只是在色彩方面欠缺些許層次感,有沒有一些較容易掌握的工具,讓我們也嘗試與這些大師一較高下呢?
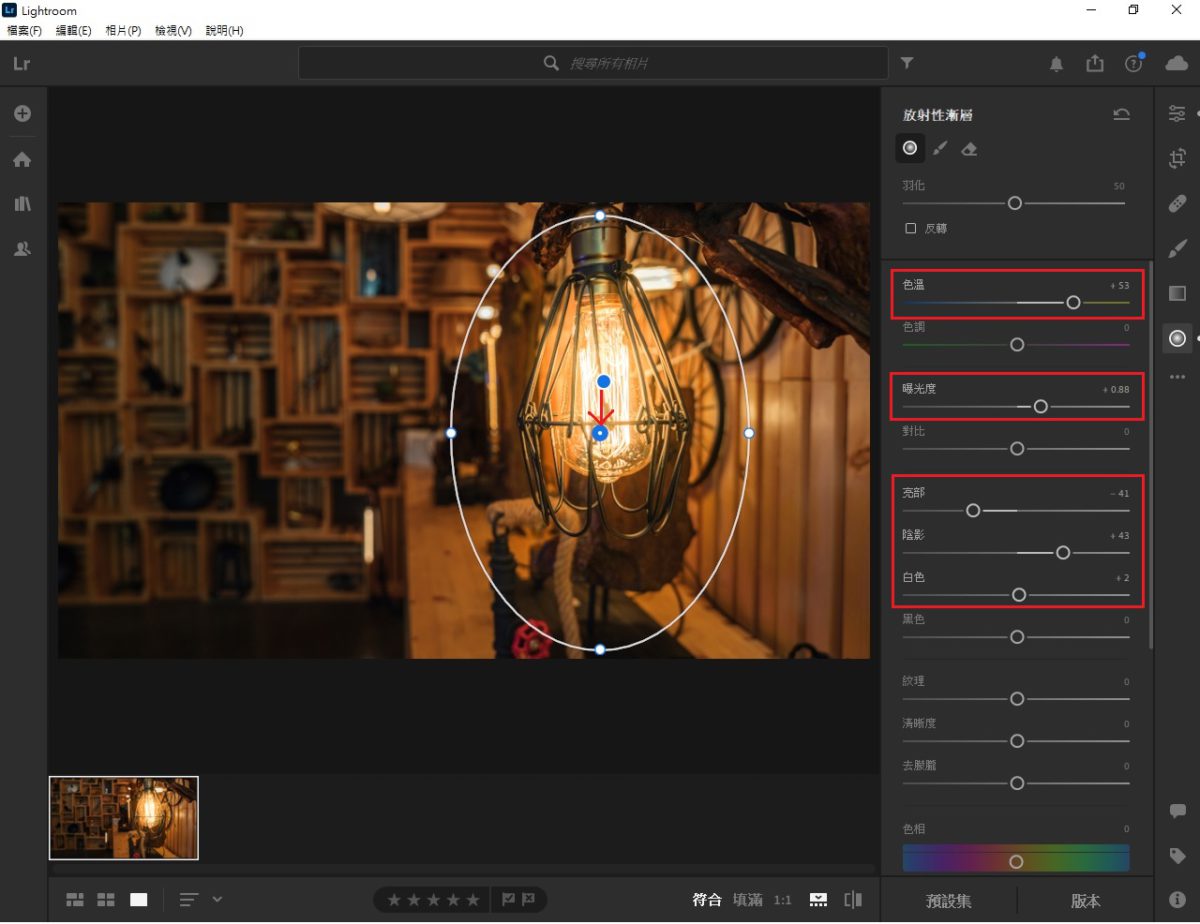
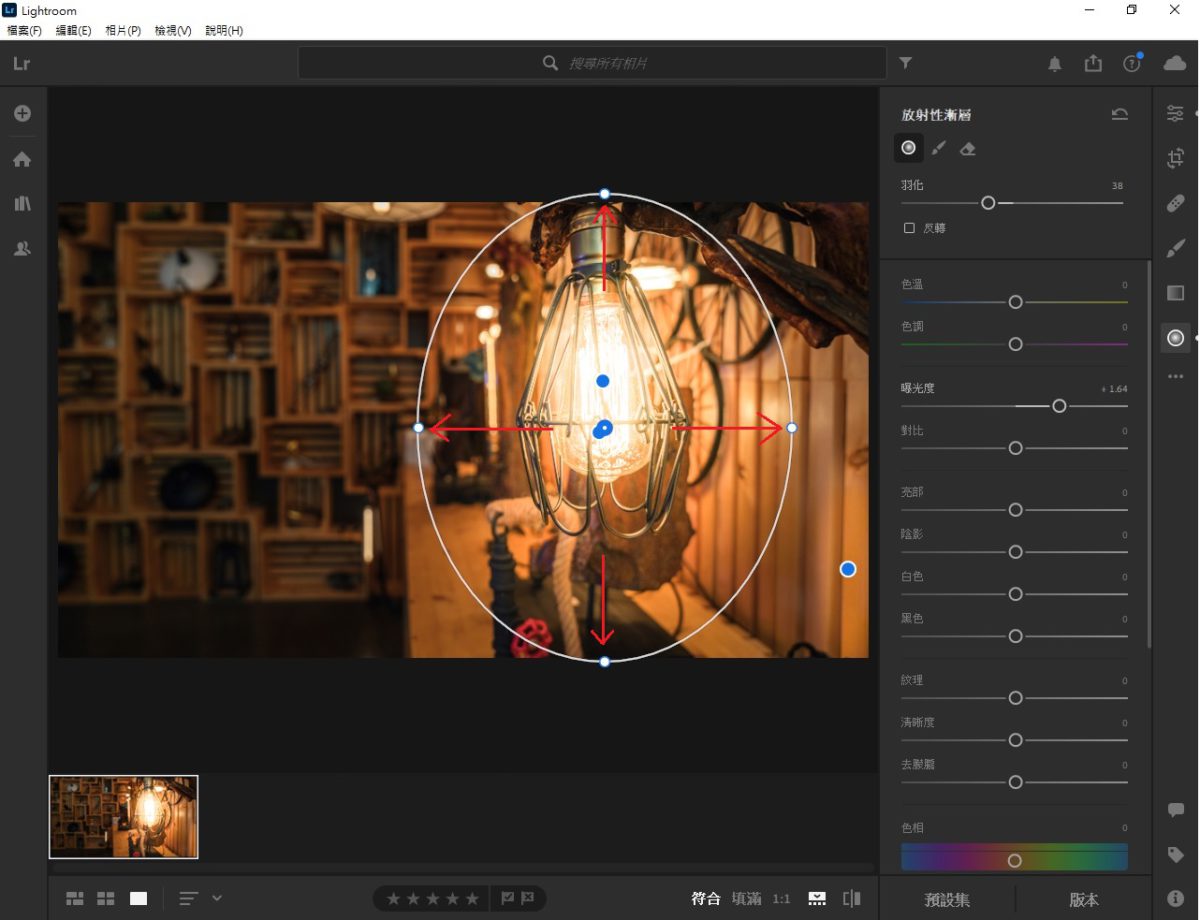
範例中的原相既有情調,亦有足夠的景深,無奈鎢絲燈光線不足,導致整體效果和色彩較為暗淡,此外相片背景亦略為複雜,有機會分散觀看者的注意力。
預備素材: 首先下載本期教學使用的圖檔以作練習。
簡易程度:★★★☆☆(1 星為最易上手)
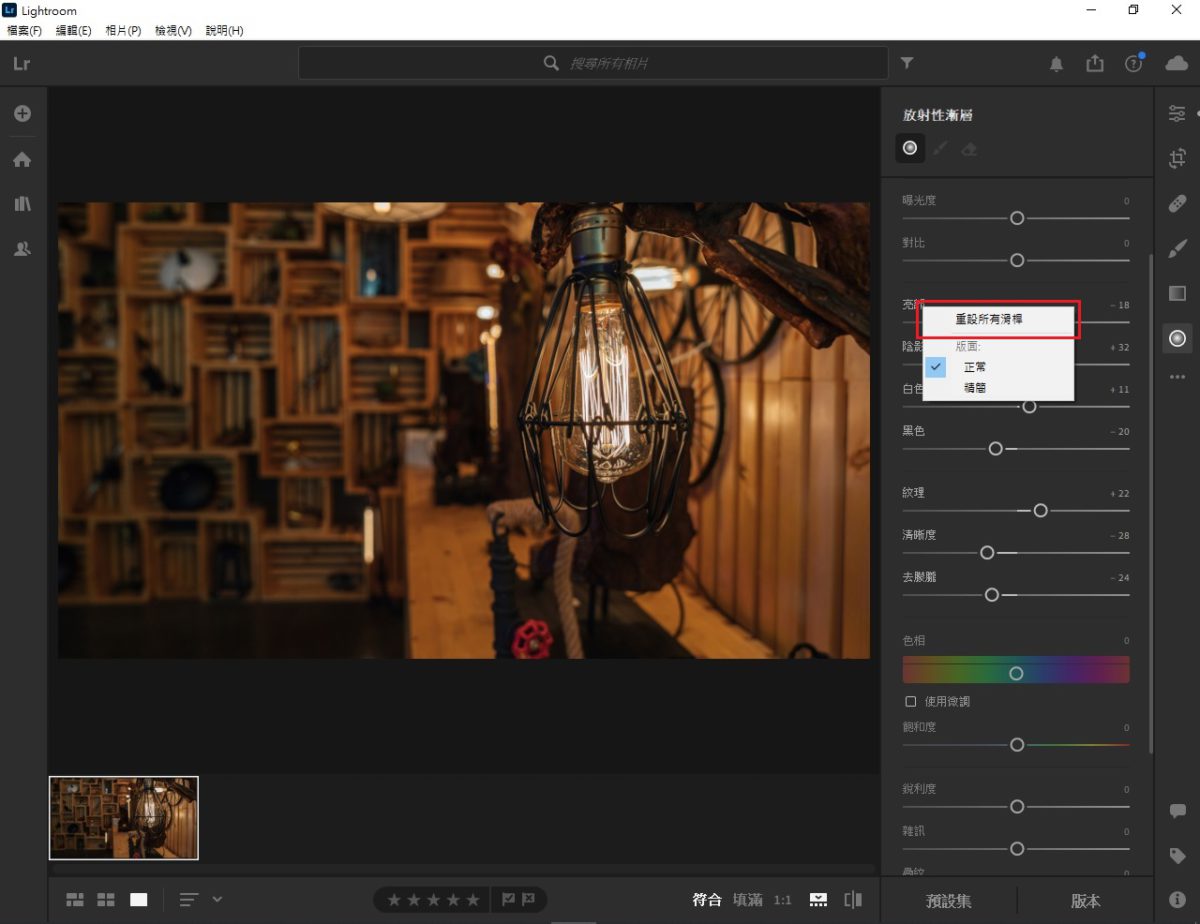
製作步驟:
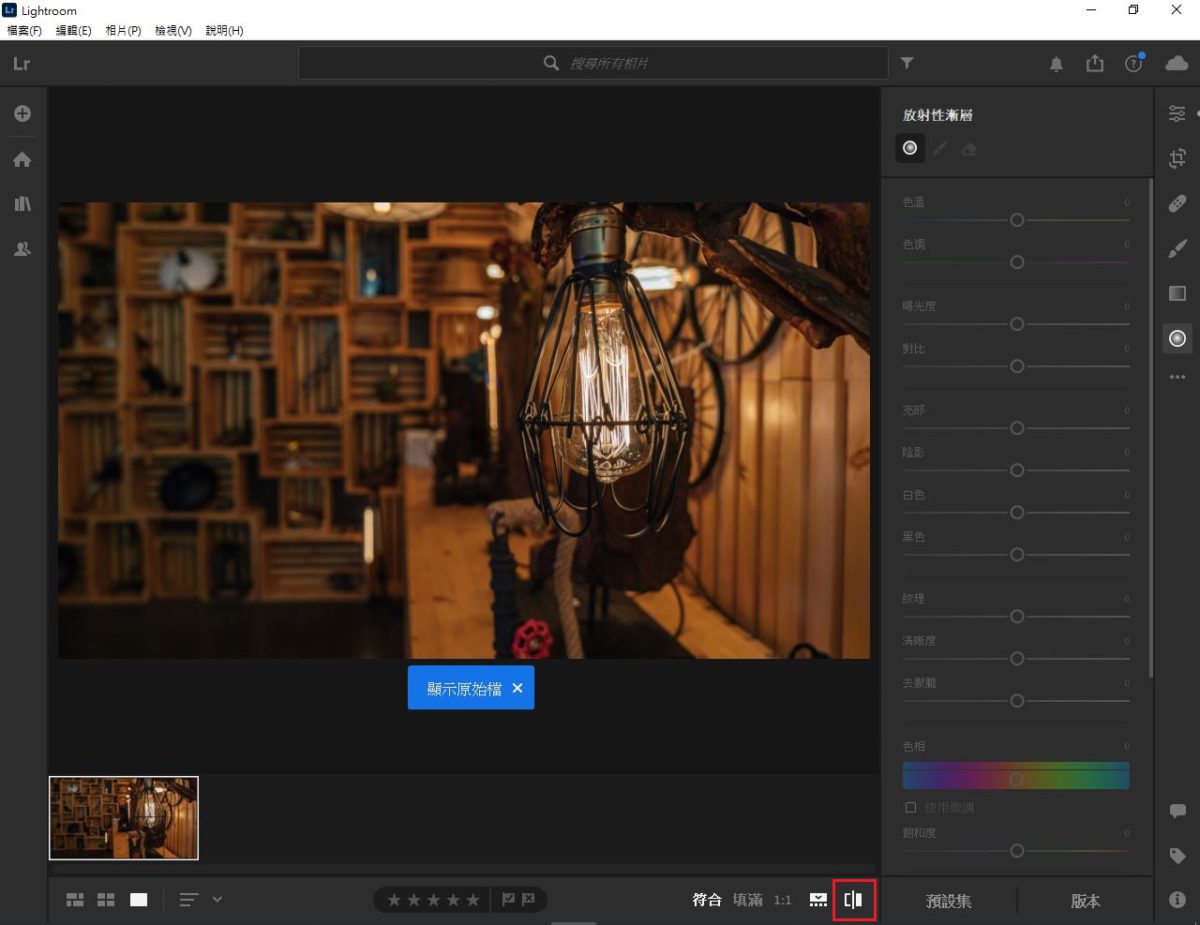

調整相片顏色前後比較:


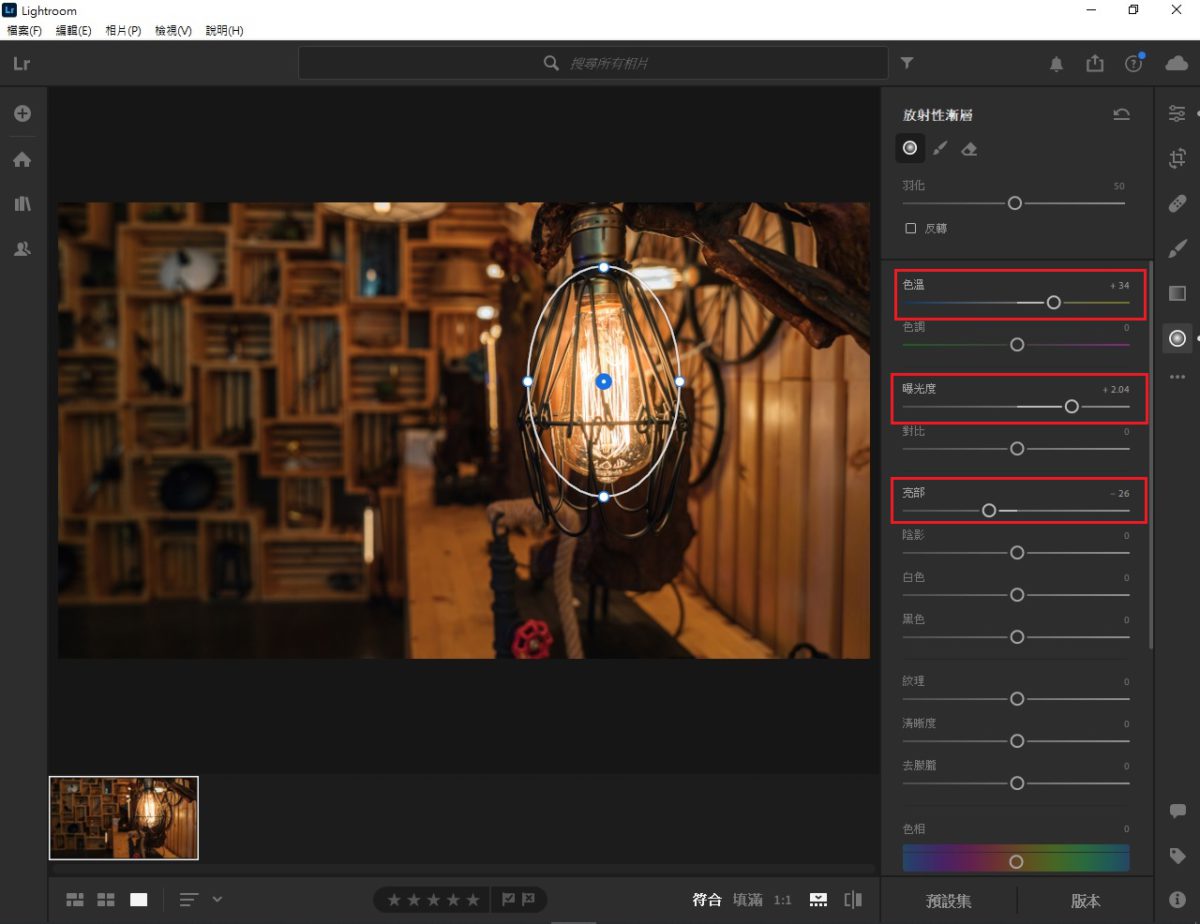
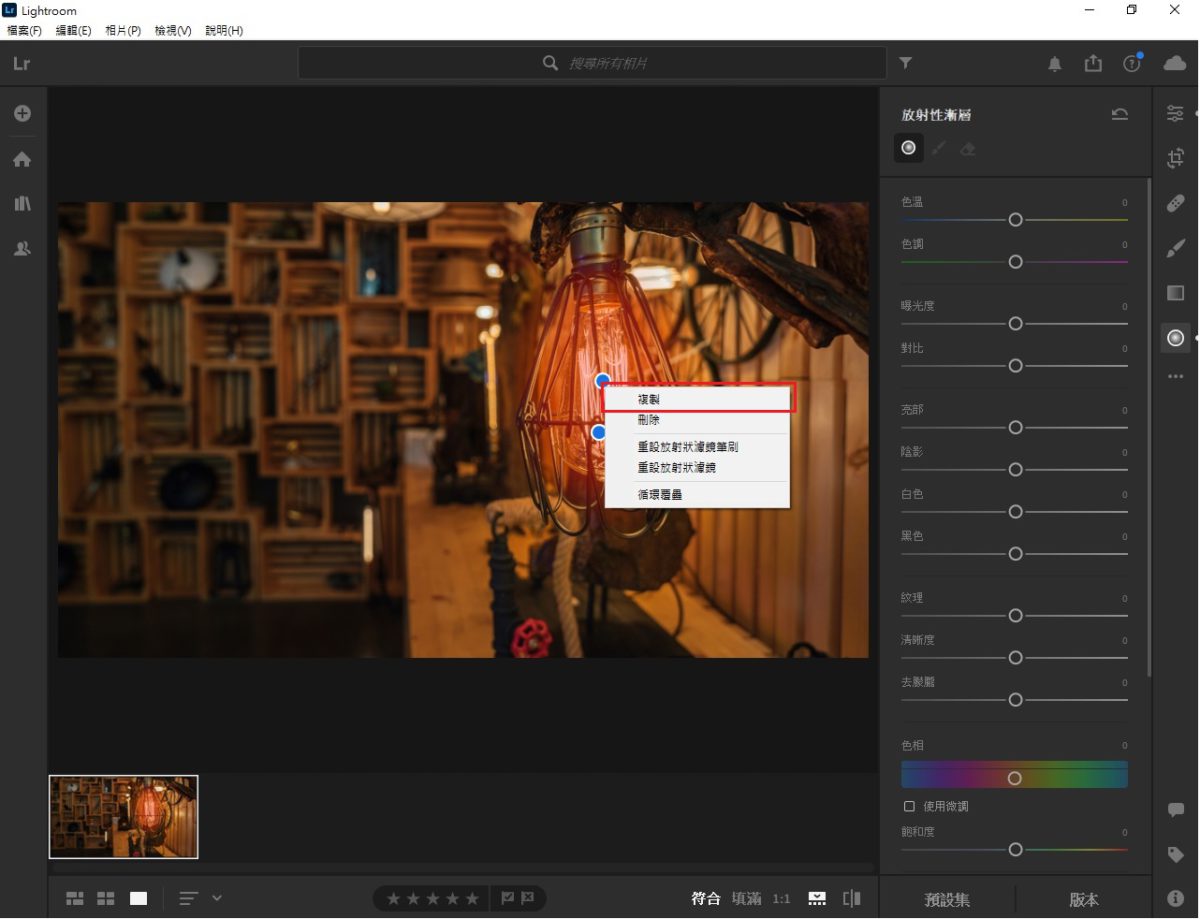
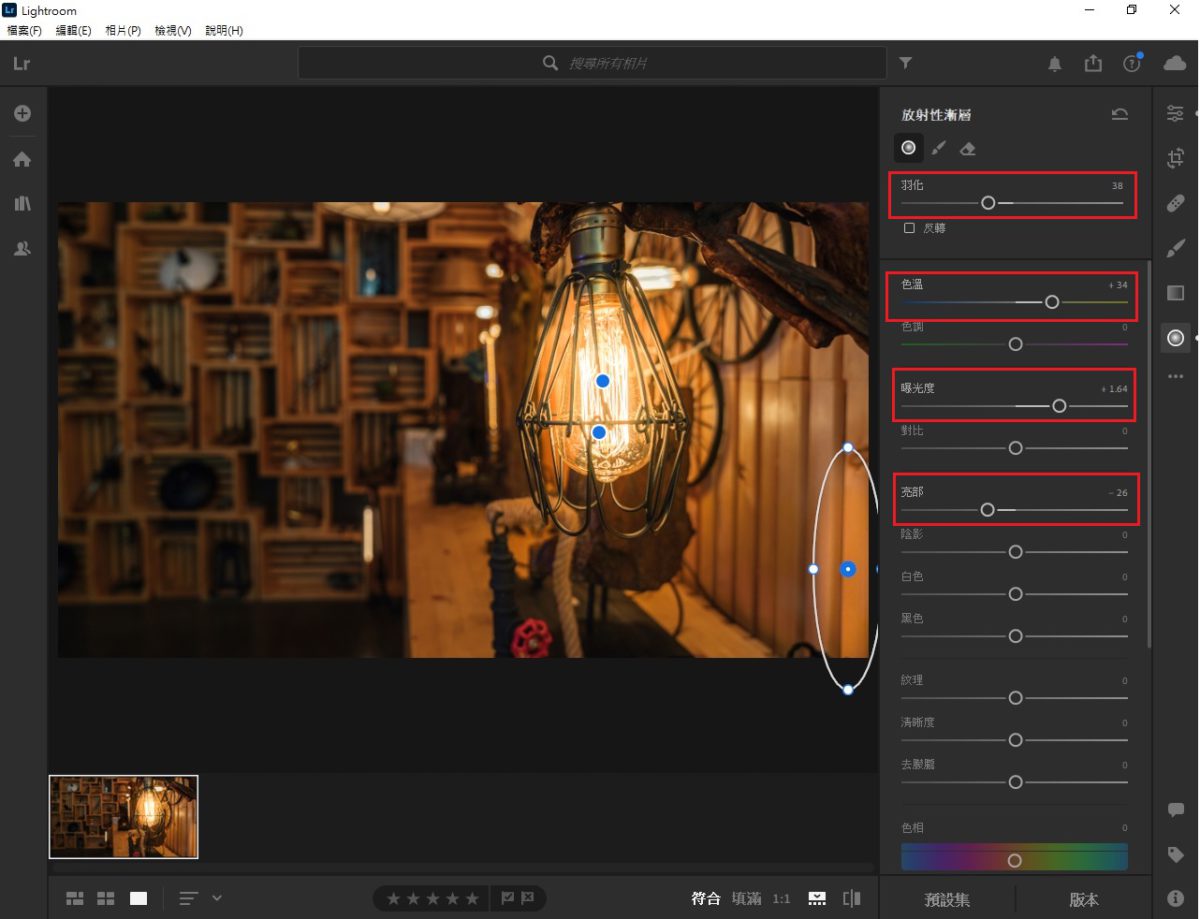
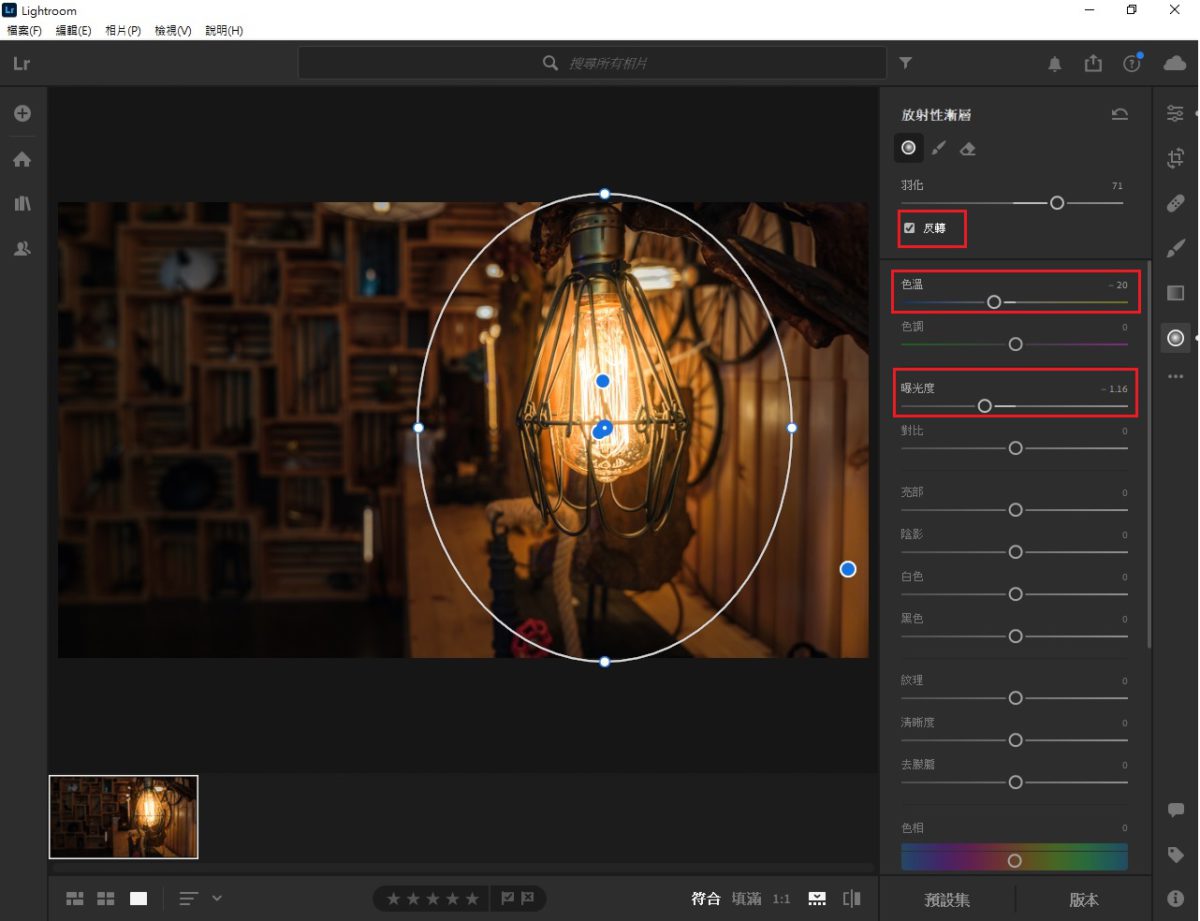
「放射性漸層」是以圓形方式擴散呈現漸變效果,當設定值越大就可以看到內圈和外圈的差別,只要多練習就能逐漸掌握到如何調整拉桿,以達到理想的效果。除了練習,更可以多欣賞大師級的作品,或瀏覽 Adobe 免費的教學課程及影片,擴展技能,如此攝影與修圖技術都能精益求精了。