最近「Windows 可能在將來移除《小畫家》功能」這單新聞搞得滿城風雨。《小畫家》可謂陪伴我們成長,由小學上電腦堂畫畫到工作用來 Cap 圖,大家當然不捨得它。不過其實也不用那麼擔心,《小畫家》未死的,只是「進化」變成《小畫家 3D 》而已。如果不習慣用新版,你也可以在 Windows 市集下載普通版《小畫家》,但新版比較方便好用,以下就教大家如何適應從普通版《小畫家》轉去《小畫家 3D 》的過渡期,其實用法沒甚麼不同啊。
如果你已更新到 Windows 10 Creators Update,就可以在電腦找到《小畫家 3D 》啦。《小畫家 3D 》彩色顏料的 Icon 比舊版《小畫家》的顏料盤更有現代感,界面亦更美觀,有 Windows 10 的風格。
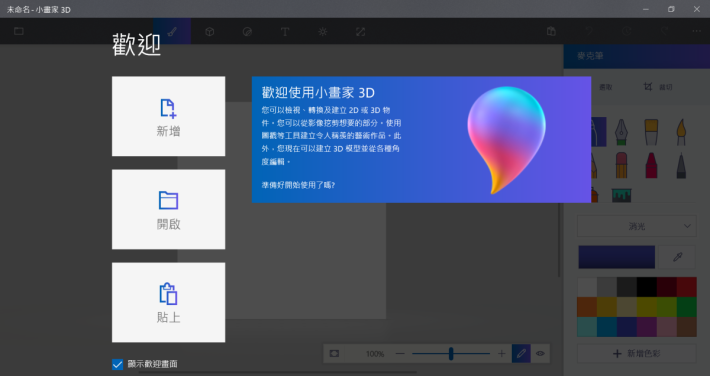
Cap 圖再裁剪
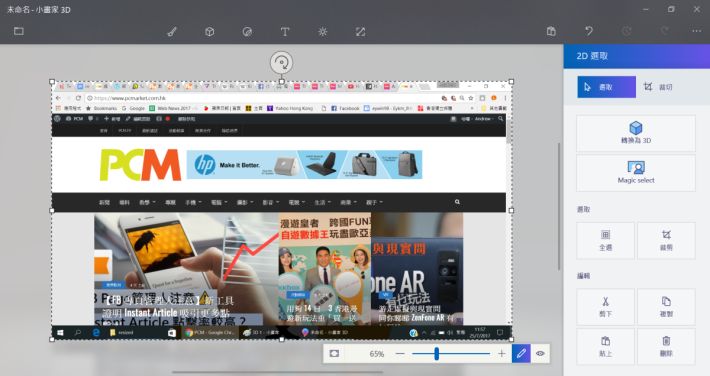
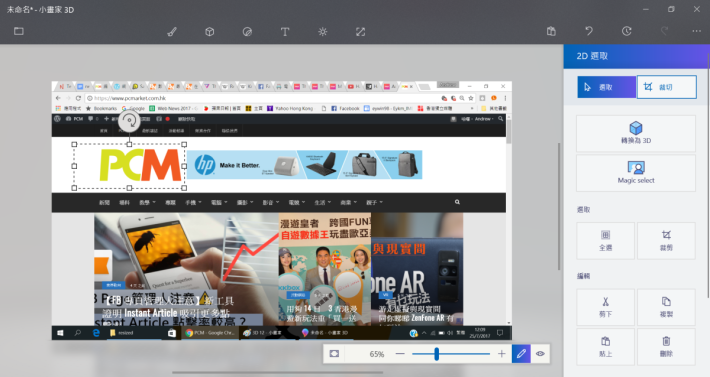
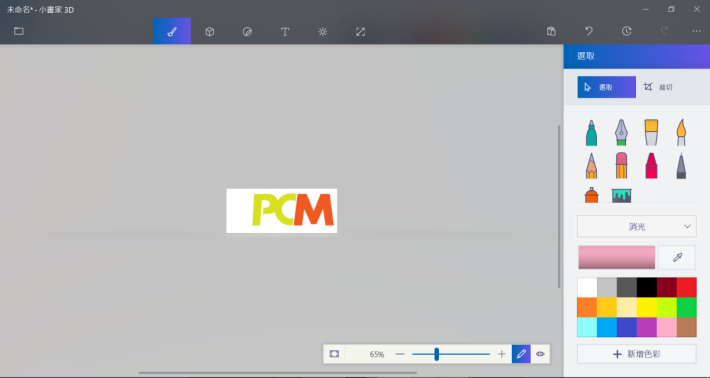
首先示範如何用最常用的 Cap 圖再 Crop 圖功能吧。把你想要的畫面 Print Screen 後,在《小畫家 3D 》的歡迎畫面按「貼上」就能貼上畫面了。當然也可以像平時那樣在空白畫布貼上,不過我覺得這個「貼上」按鈕好像是專為 Cap 圖而設呢。然後在「畫筆」Tab 按「選取」,再按「裁剪」就可以把 PCM Logo 裁成一張圖啦。這跟平時沒甚麼分別吧。
[row][third_paragraph]
[/third_paragraph][third_paragraph]
[/third_paragraph][third_paragraph]
[/third_paragraph][/row]
寫字畫畫
《小畫家 3D 》提供很多不同種類的筆讓你書寫,例如我這裡是用「書寫筆」,幼細的筆觸有點文青的感覺(如果我的畫功好點的話)。預設顏色和舊版大同小異。
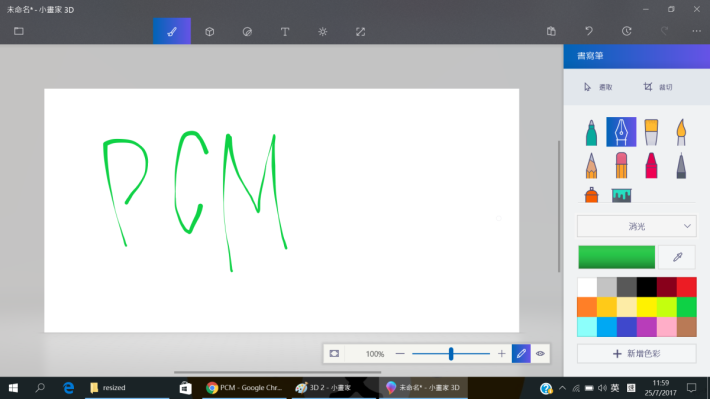
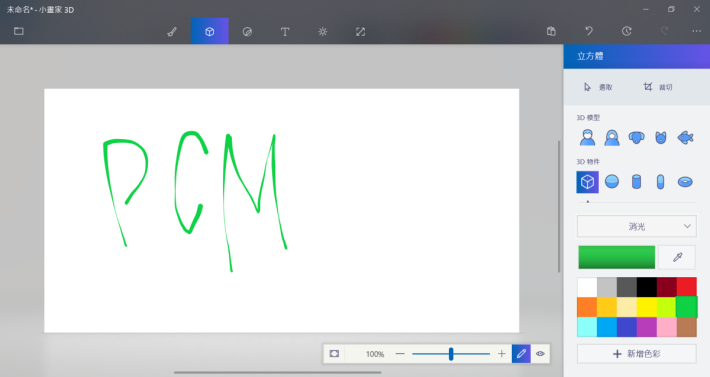
加 3D 立方體
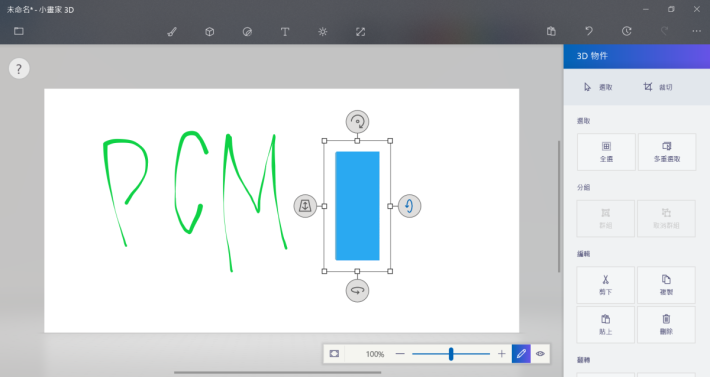
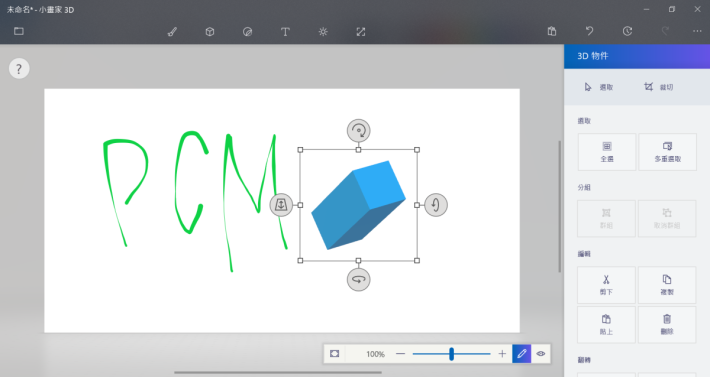
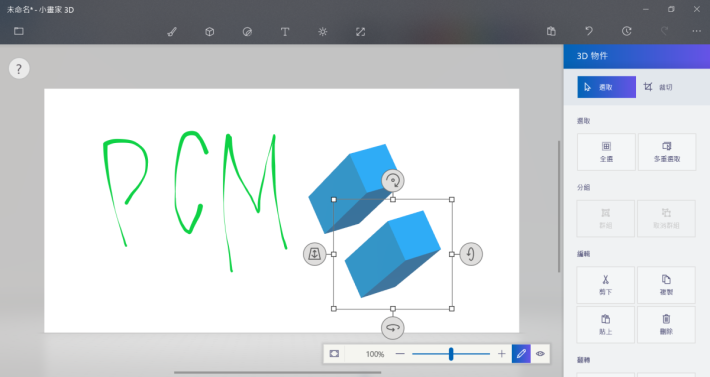
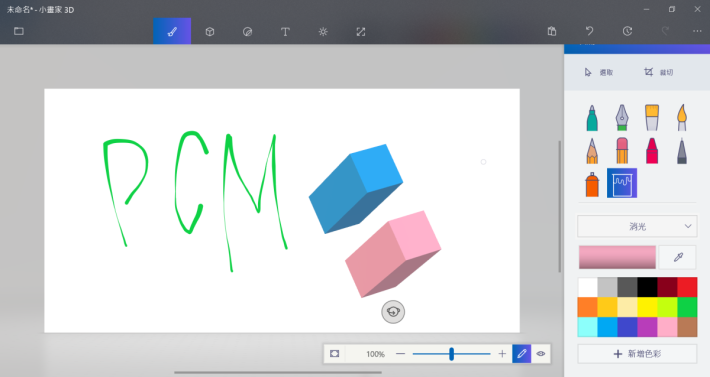
在「正方體」 Tab 可拉出各種 3D 物件,我在這裡拉出長方體。利用箭嘴可把立方體轉成不同角度,也可以把這個物件複製,及在「畫筆」Tab 按油筒填滿顏色。
[row][third_paragraph]
[/third_paragraph][third_paragraph]
[/third_paragraph][third_paragraph]
[/third_paragraph][/row][row][double_paragraph]
[/double_paragraph][double_paragraph]
[/double_paragraph] [/row]
畫直線曲線、加 2D 圖形及貼圖
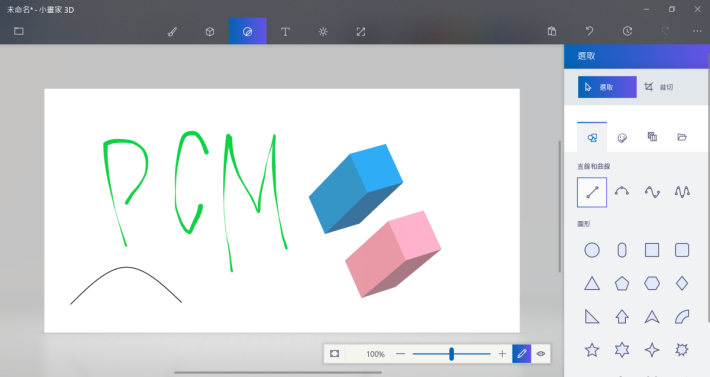
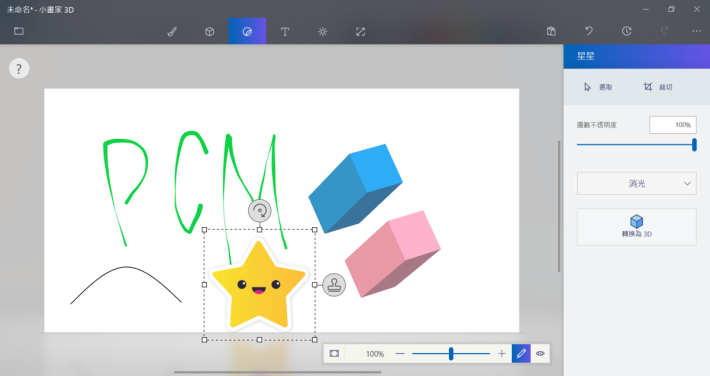
不喜歡 3D 化?可以在「貼紙」 Tab 拉出 2D 形狀和畫直線曲線。另外有新功能可加各類貼圖(這個軟件稱為圖戳),還可調較透明度呢。
[row][double_paragraph]
[/double_paragraph][double_paragraph]
[/double_paragraph] [/row]
插入文字
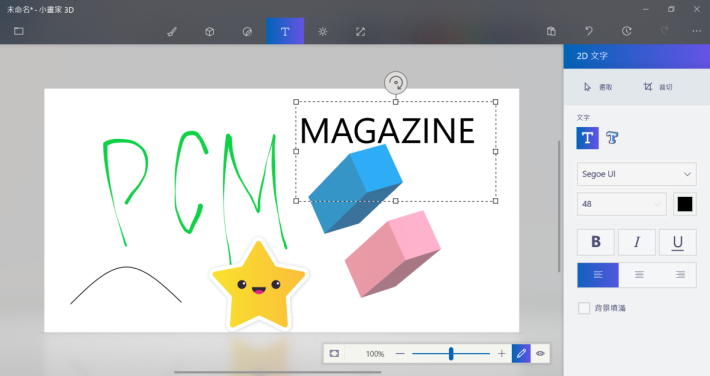
在「T 字」 Tab 就可加 2D 及 3D 文字,用法和舊版完全沒分別。
利用效果調較色調
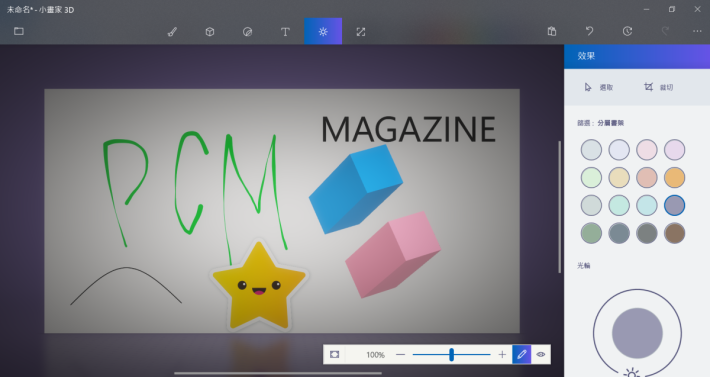
小編挺喜歡這個新功能,在「燈光」Tab 可選用不同顏色來調較整體色調效果,我這個紫色效果是否與星星貼圖很合襯呢?
其實小畫家 3D 的用法和舊版相差無幾,聰明的你應該可以一用就上手,不過要跟舊版小畫家道別,真的有點不捨得,唯有接受科技日新月異這個事實吧。
